Send Emails with Node.js using Gmail SMTP & Nodemailer
No paid email service, no SendGrid account. Learn how to send real emails from your Node.js app using your own Gmail and a free App Password — full setup, code, and the errors that trip everyone up.
Watch the full tutorial on my YouTube channel
Want your app to actually send emails — contact form replies, welcome messages, OTPs — without paying for SendGrid or Mailgun? You can send straight from your own Gmail. It's free, it takes about ten minutes, and all you need is a Node.js server and one special password. Let's wire it up with Nodemailer.
Why Send Email From Your Own Gmail?
For side projects, MVPs, and low-volume apps, your personal Gmail is more than enough. No third-party account, no API keys to manage, no monthly bill. You get a reliable inbox you already trust, and setup is genuinely simple.
Good For
- •Contact form notifications and auto-replies
- •Welcome emails, OTPs, and password resets
- •Side projects, MVPs, and internal tools
- •Anything low-volume where you don't want a paid service yet
Read This First
Gmail will not let you log in over SMTP with your normal password — Google blocked that years ago. Instead you generate a 16-character App Password, which only works for the one app you create it for and can be revoked anytime. To get that option, you first need 2-Step Verification turned on. That's the whole trick, and it's where almost everyone gets stuck. Steps 1 and 2 below handle it.
The Setup
Five steps: two in your Google account, three in your code.
Step 1: Turn On 2-Step Verification
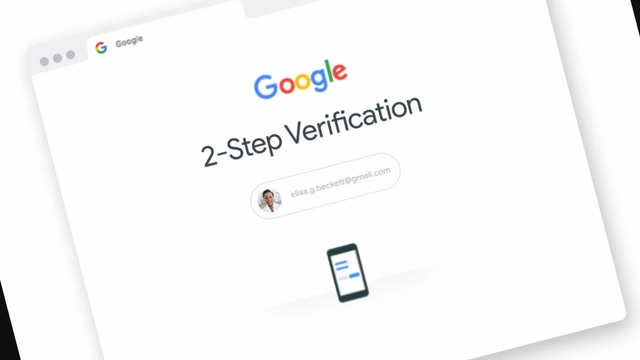
App Passwords only appear once 2-Step Verification is active. Head to your Google Account, open the Security tab, find 2-Step Verification, and switch it on. It takes a minute and you only do it once.
- Go to myaccount.google.com/security
- Click 2-Step Verification
- Follow the prompts to enable it with your phone
Step 2: Create an App Password
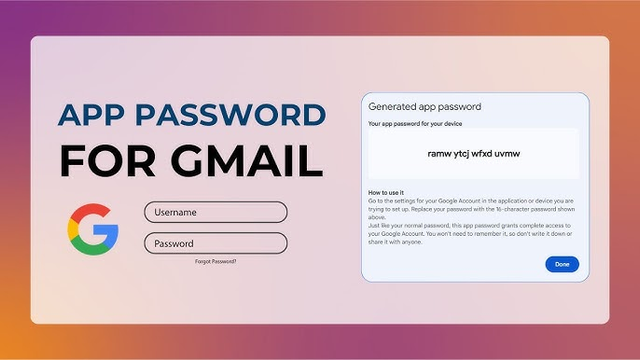
Now generate the password your code will actually use. Search "App Passwords" in your Google Account settings (or visit the link below), give it a name like "Node Mailer", and Google hands you a 16-character code.
- Go to myaccount.google.com/apppasswords
- Type an app name (anything you'll recognize)
- Click Create and copy the 16-character code
Important: Google shows it as four groups of four (abcd efgh ijkl mnop), but you paste it as one 16-character string with no spaces. Save it somewhere safe — Google won't show it again.
Step 3: Set Up the Project
Create a project and install the packages. We use dotenv so your credentials never sit in the code.
npm init -y
npm install express cors nodemailer dotenv
mkdir public
Make a .env file in the root and add your Gmail and the App Password from Step 2. Add this file to .gitignore so it never gets committed.
EMAIL_USER=youremail@gmail.com
EMAIL_PASS=your16charapppassword
Step 4: Write the Server
Here's the whole backend. We create a Nodemailer transporter with the Gmail service, verify the connection on startup so bad credentials get caught immediately, and expose one POST endpoint that sends the email.
const express = require('express');
const cors = require('cors');
const nodemailer = require('nodemailer');
require('dotenv').config();

const app = express();
app.use(cors());
app.use(express.json());
app.use(express.static('public'));

// Gmail SMTP transporter
const transporter = nodemailer.createTransport({
  service: 'gmail',
  auth: {
    user: process.env.EMAIL_USER,
    pass: process.env.EMAIL_PASS,
  },
});

// Catch bad credentials on startup
transporter.verify((err) => {
  if (err) console.error('SMTP failed:', err.message);
  else console.log('SMTP ready to send');
});

// POST - send an email
app.post('/api/send', async (req, res) => {
  try {
    const { to, subject, message } = req.body;
    if (!to || !message) {
      return res.status(400).json({ success: false, error: 'Recipient and message are required' });
    }

    await transporter.sendMail({
      from: process.env.EMAIL_USER, // Gmail always sends as the logged-in account
      to,
      subject: subject || '(no subject)',
      text: message,
    });

    res.json({ success: true, message: 'Email sent' });
  } catch (err) {
    res.status(500).json({ success: false, error: err.message });
  }
});

app.listen(3000, () => console.log('http://localhost:3000'));
One Gmail rule to know: the from address is always your authenticated account. You can't fake the sender. To send HTML instead of plain text, swap text for an html field.
Step 5: Build the Form
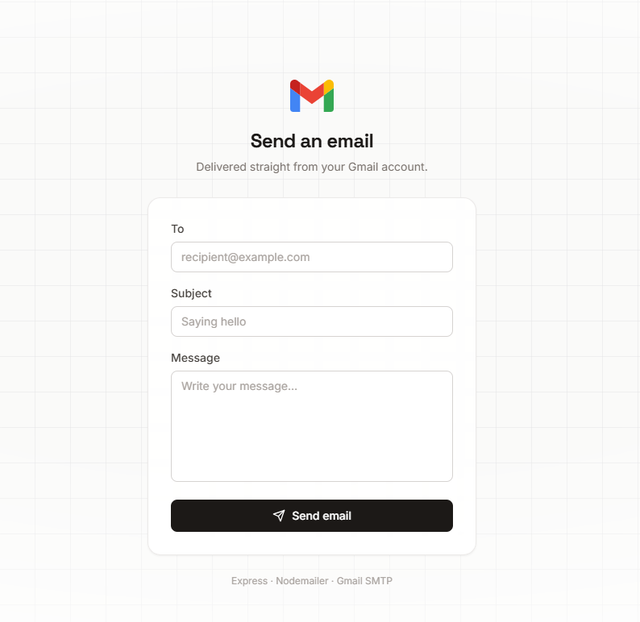
The front end is a simple form — a recipient, a subject, a message — that POSTs to your endpoint. Here's the core fetch; wire it to your form's submit handler.
async function sendEmail(payload) {
  const res = await fetch('/api/send', {
    method: 'POST',
    headers: { 'Content-Type': 'application/json' },
    body: JSON.stringify(payload),
  });

  const data = await res.json();
  if (!data.success) throw new Error(data.error);
  return data;
}

// payload = { to, subject, message }
Run and Test
Start the server and watch the terminal:
node server.js
# SMTP ready to send
If you see SMTP ready to send, your credentials are good. Open http://localhost:3000, send an email to yourself, and check your inbox.
Errors That Trip Everyone Up
"Invalid login" / "Username and Password not accepted"
You're using your normal Gmail password, or 2-Step Verification isn't on. Use the App Password from Step 2.
Login fails even with the App Password
You probably pasted it with spaces. It's 16 characters, no spaces — strip them out.
undefined credentials
Your .env isn't loading. Make sure require('dotenv').config() runs at the very top of the file and the file is named exactly .env.
Emails land in spam
Normal for a personal Gmail at first. Fine for testing and low volume. For production sending, a dedicated service with a verified domain is the fix.
Keep It Secure
Never commit your .env file or hardcode the App Password in your code — add .env to .gitignore before your first commit. If a password ever leaks, just revoke it in your Google Account and generate a new one — that's the beauty of App Passwords. And never expose the send endpoint without basic validation or rate limiting, or bots will use it to spam.
Final Thoughts
That's a working email sender powered by your own Gmail — no paid service, no API keys, just an App Password and a few lines of Nodemailer. It's perfect for contact forms, OTPs, and side projects.
The one thing to remember: Gmail has daily sending limits (around 500 emails a day on a free account) and isn't built for bulk marketing. When you outgrow it, move to a service like Resend, SendGrid, or Amazon SES — your Nodemailer code barely changes, you just swap the transporter config.
Next Steps
- Send rich HTML emails with the html field instead of plain text
- Add rate limiting so your endpoint can't be abused
- Attach files with the attachments option
- Build email open-tracking — drop a 1x1 invisible pixel served by your own server and log when a message gets opened. It turns this simple sender into your own mini email-analytics tool. (Covered in an upcoming video — stay tuned.)
Now go ship it. Your app can finally talk to the world. 🚀
Want More Practical Dev Tutorials?
Subscribe for no-fluff tutorials on web development, backend, and shipping real projects fast.